Creating your First Automation
Step 1: Creating A Project
A Project is the workspace where workflows, documents, and related data are organized.
- Navigate to the Projects section in the dashboard.
- Click Create New Project.
- Enter a Project Name and click Save.

Once the project is created you can configure any initial settings (eg: setting up access permissions, importing/copying or duplicating existing workflows).
Step 2: Create a New Workflow
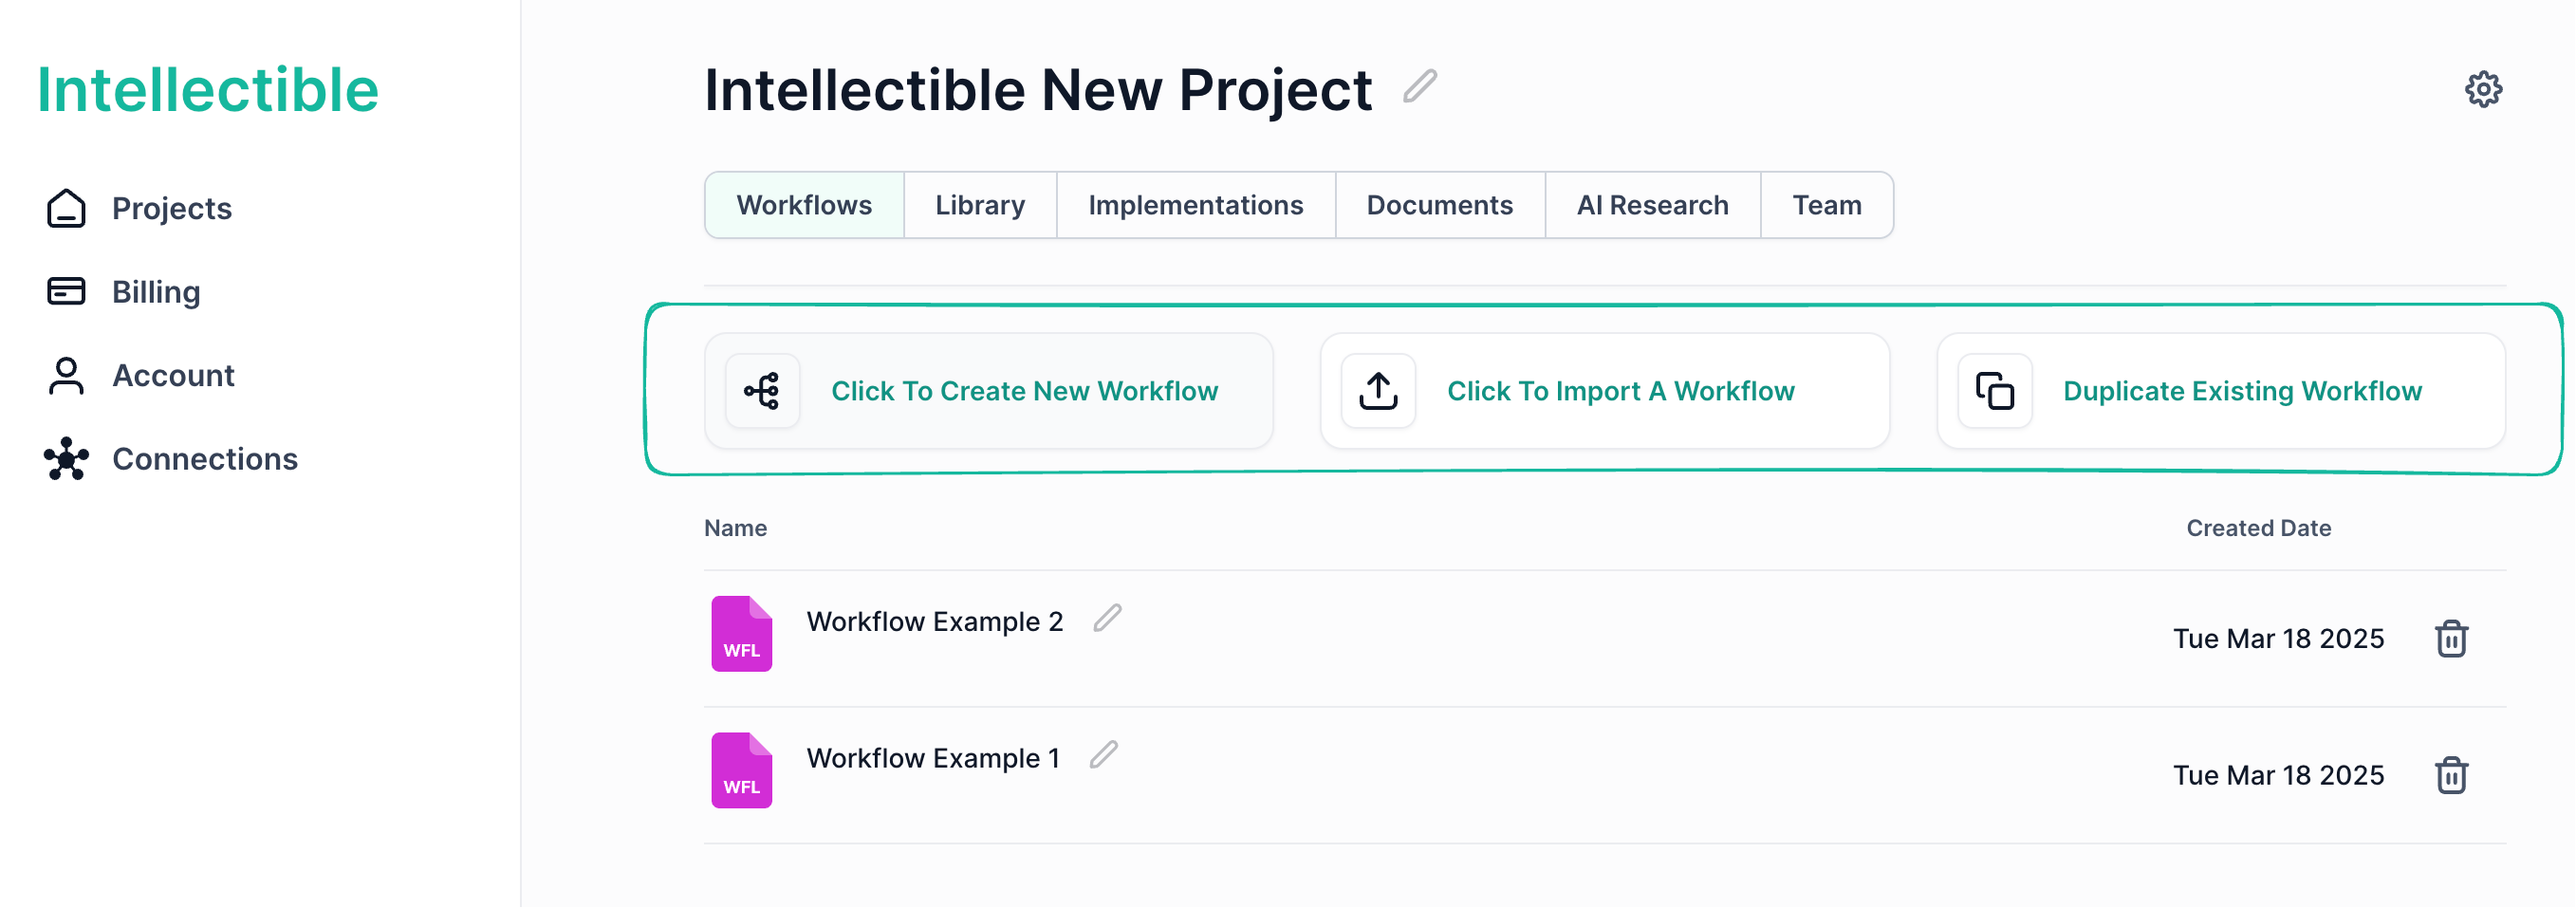
Workflows are the core of automation in Intellectible, defining how data is processed and actions are executed. You can choose to Create, Import or Duplicate a workflow, into your project. However let's just create a new workflow.
- Inside your project, go to the Workflows tab.
- Click Create New Workflow.
- Enter a Workflow Name and click Create.

For more information on workflows see Workflow Guide
Step 3: Add Nodes to Define Automation Logic
Nodes are the building blocks of workflows. They define how data flows, decisions are made, and automation is executed. Some essential Nodes for basic Automations include:
- Start Node – Every workflow begins here.
- Input Node – Captures data from a form or file.
- AI Write Node – Uses AI to process or generate content.
- Set Form Data Node – Displays processed results in a form.
For more information on all available nodes in the system see ...
How to Add Nodes?
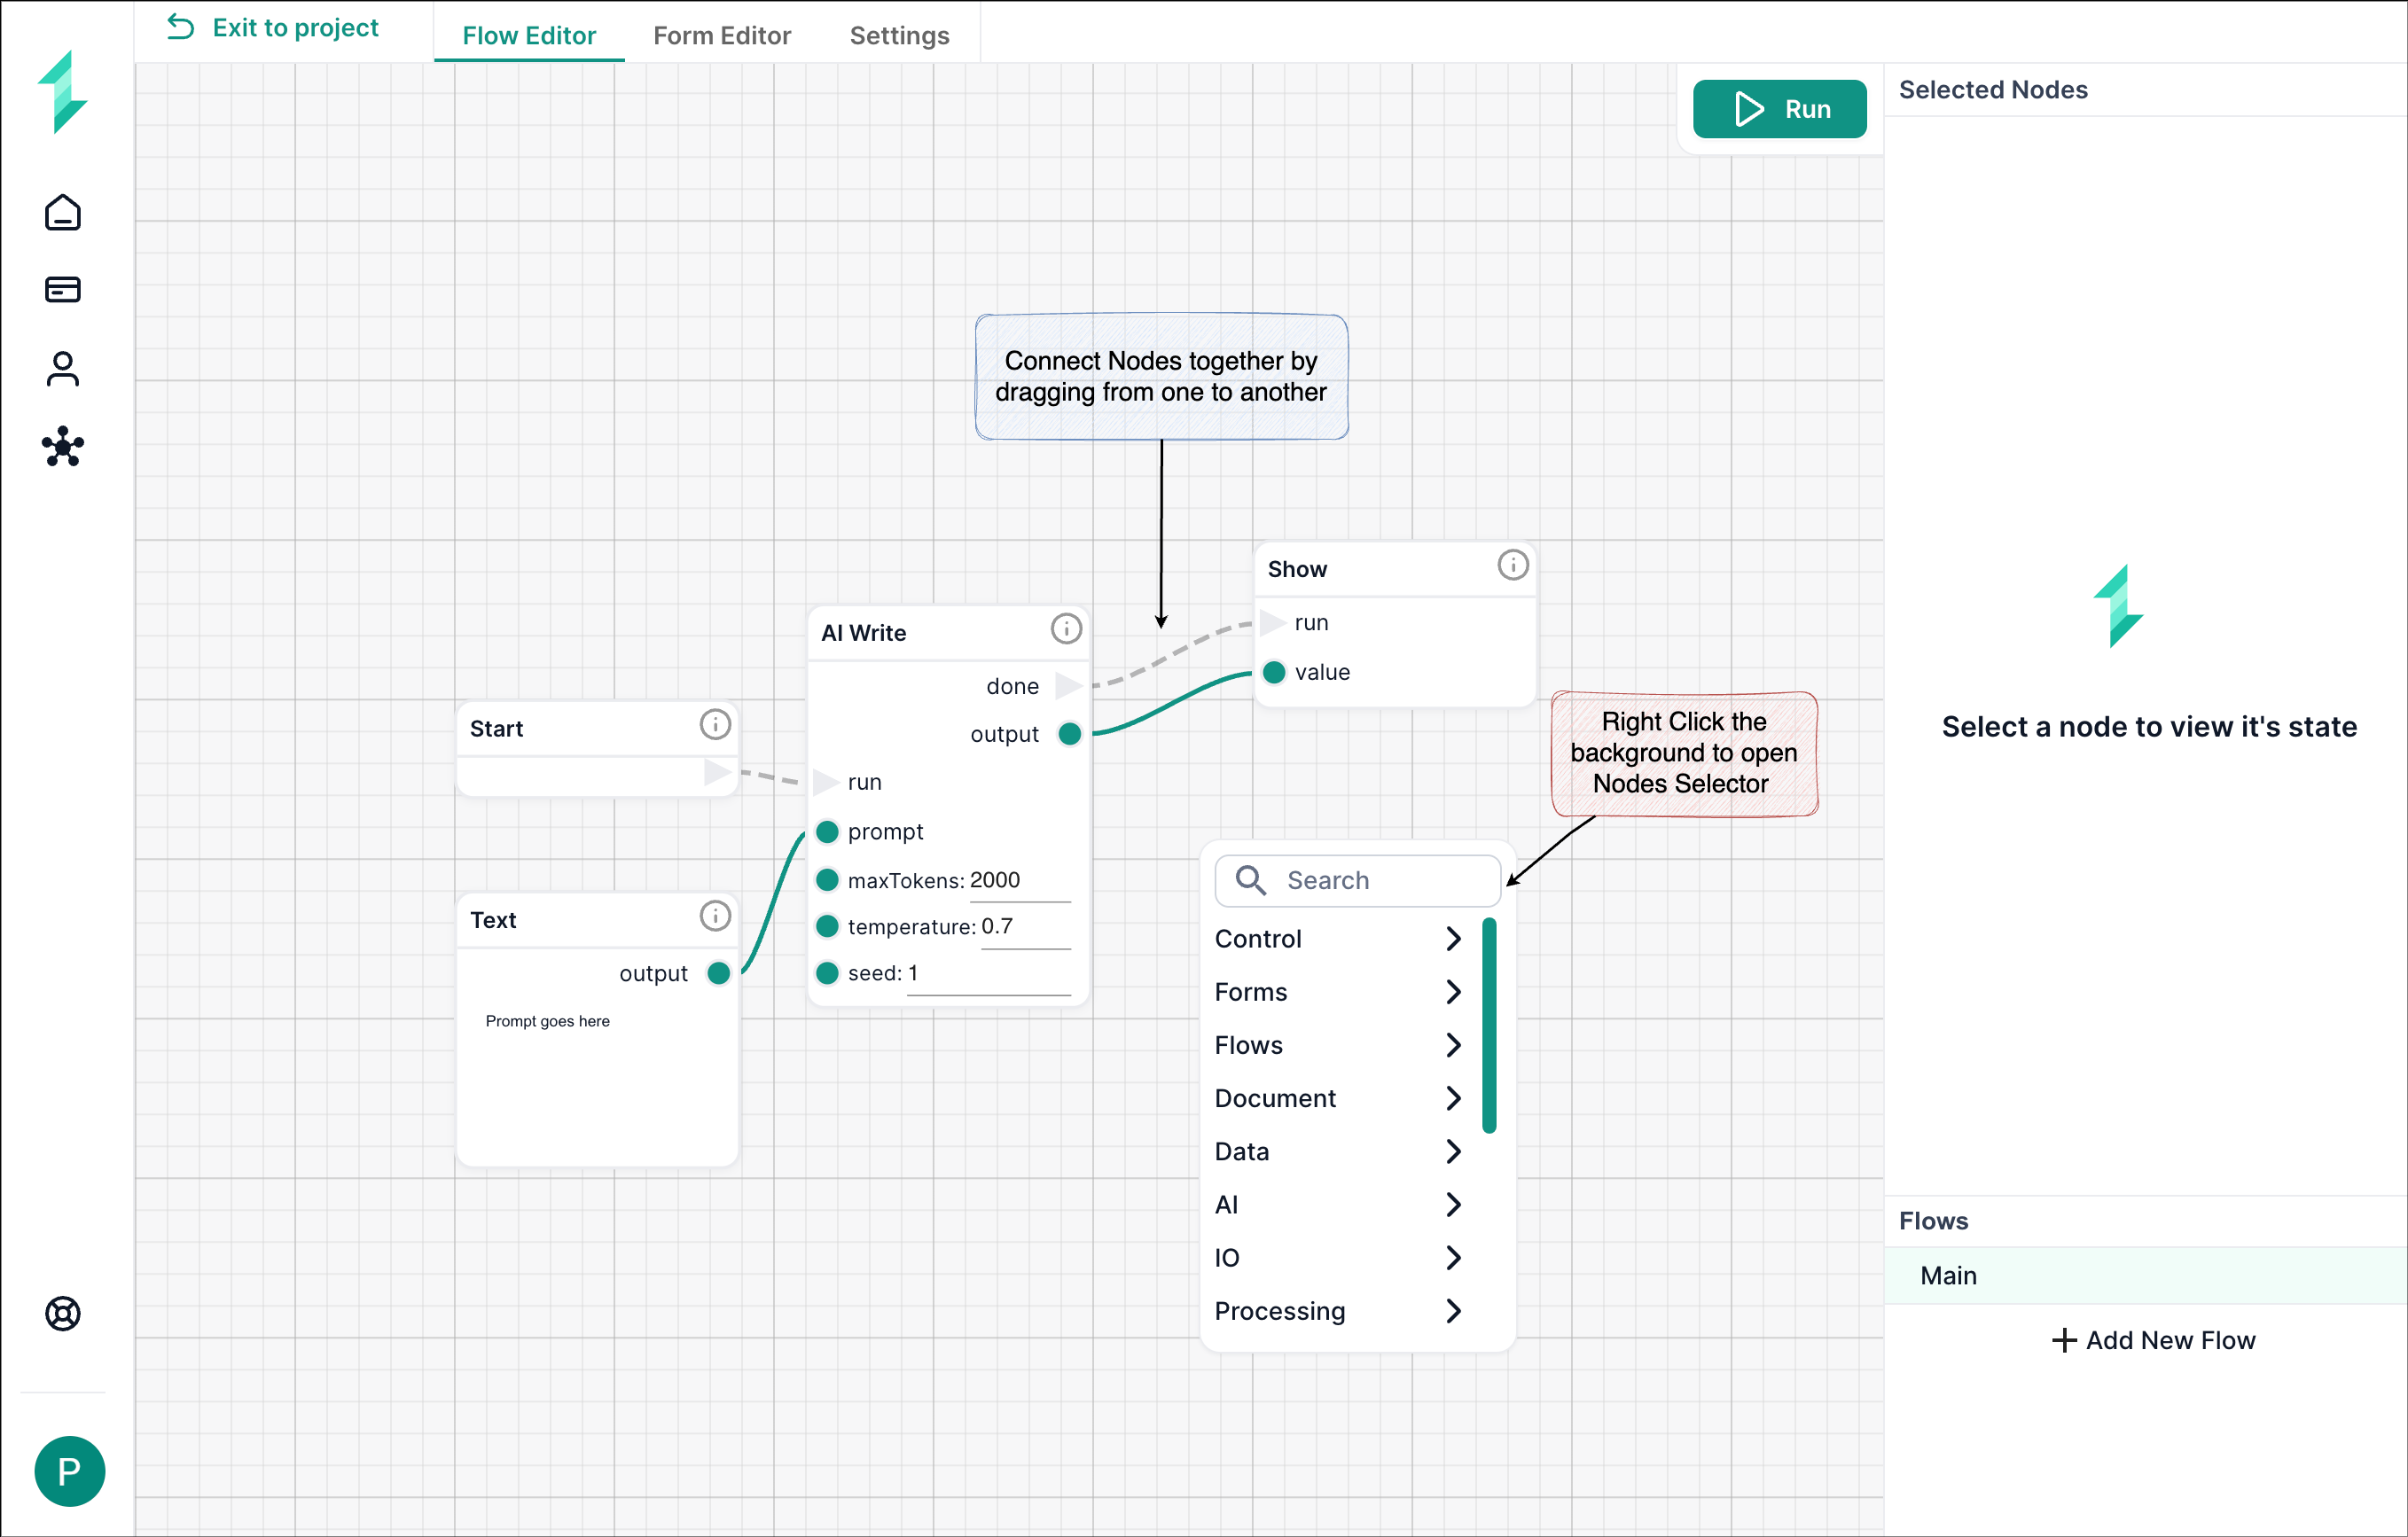
- Right-click anywhere in the Flow Editor or double-click on a trackpad.
- Select the type of node you need.
- Connect nodes by dragging from one to another.
- Dotted Lines represent the flow of execution
- Solid Lines represent the transfer of data

Step 4: Connect a Form for User Interaction (Optional)
If your automation requires user input, use the Form Editor to create a form that interacts with your workflow.
- Open the Form Editor.
- Click Create New Page.
- Add elements such as text fields, file uploads, and buttons.
- Name the elements so they can be referenced in your workflow.
- Save and link the form to your workflow.
For more information on how to use the Form Editor see ...
Step 5: Test and Run Your Automation
Before deploying your automation, test it to ensure it works correctly.
- Click Run Workflow in the Flow Editor.
- Check the execution path to see how data flows between nodes.
- Review the output in the Form Editor or workflow logs.
For more information on testing and debugging see ...
Step 6: Save and Deploy Your Automation
Once the workflow runs successfully:
- Click Save to store your automation.
- Set user permissions (who can edit or run the workflow).
- Deploy it for real-world use.
Congratulations!!!
You have successfully created your first working automation in Intellectible. You can now expand on this by adding more logic, AI-driven processing, and integrations to enhance your workflows.